Django
Django is a free and open-source, Python-based web framework that follows the model–template–views (MTV) architectural pattern. It is maintained by the Django Software Foundation (DSF), an independent organization established in the US as a 501 non-profit.
Django's primary goal is to ease the creation of complex, database-driven websites. The framework emphasizes reusability and "pluggability" of components, less code, low coupling, rapid development, and the principle of don't repeat yourself. Python is used throughout, even for settings, files, and data models. Django also provides an optional administrative create, read, update and delete interface that is generated dynamically through introspection and configured via admin models.
Some well-known sites that use Django include Instagram, Mozilla, Disqus, Bitbucket, Nextdoor and Clubhouse.
See Django on Wikipedia.
Getting Started
The Pro Linux Container of Brap is pre-configured for Django via pip in a Virtual Environment.
To start a new project, create a virtual environment for it. Start by creating and moving into a new project directory:
mkdir ~/django-project
cd ~/django-project
Next, create a virtual directory environment within the project directory:
python3 -m venv my_env
This will install standalone versions of Python and pip into an isolated directory structure within your project directory. A directory will be created with the name you select, which will hold the file hierarchy where your packages will be installed.
To install packages into the isolated environment, you must activate it by typing:
source my_env/bin/activate
Your prompt should change to reflect that you are now in your virtual environment. It will look something like (my_env) ➜ django-project or (my_env)username@hostname:~/newproject$.
In your new environment, you can use pip to install Django. Regardless of your Python version, pip should just be called pip when you are in your virtual environment. Also note that you do not need to use sudo since you are installing locally:
pip install django
To verify the installation, run:
django-admin --version
To leave your virtual environment, you need to issue the deactivate command from anywhere on the system:
deactivate
Your prompt should revert to the conventional display. When you wish to work on your project again, re-activate your virtual environment by moving back into your project directory and activating:
cd ~/django-project
source my_env/bin/activate
Sample project
To build your project, you can use django-admin with the startproject command. We will call our project djangoproject, but you can replace this with a different name. startproject will create a directory within your current working directory that includes:
- A management script, manage.py, which you can use to administer various Django-specific tasks.
- A directory (with the same name as the project) that includes the actual project code.
To avoid having too many nested directories, however, let’s tell Django to place the management script and inner directory in the current directory (notice the ending dot):
django-admin startproject djangoproject .
To migrate the database (this example uses SQLite by default), let’s use the migrate command with manage.py. Migrations apply any changes you’ve made to your Django models to your database schema.
To migrate the database, type:
python manage.py migrate
Finally, let’s create an administrative user so that you can use the Djano admin interface. Let’s do this with the createsuperuser command:
python manage.py createsuperuser
Modifying ALLOWED_HOSTS in the Django Settings
To successfully test your application, you will need to modify one of the directives in the Django settings.
Open the settings file by typing:
nano ~/django-test/djangoproject/settings.py
Inside, locate the ALLOWED_HOSTS directive. This defines a list of addresses or domain names that may be used to connect to the Django instance. An incoming request with a Host header that is not in this list will raise an exception. Django requires that you set this to prevent a certain class of security vulnerability.
In the square brackets, list the IP addresses or domain names that are associated with your Django server. Each item should be listed in quotations, with separate entries separated by a comma. If you want requests for an entire domain and any subdomains, prepend a period to the beginning of the entry:
ALLOWED_HOSTS = ['your_server_ip_or_domain', 'your_second_ip_or_domain', '.brap.dev', ...]
Testing the development server
Once you have a user, you can start up the Django development server to see what a fresh Django project looks like. You should only use this for development purposes. When you are ready to deploy, be sure to follow Django’s guidelines on deployment carefully.
Before you try the development server, make sure you open the appropriate port in your firewall. If you followed the initial server setup guide and are using UFW, you can open port 8000 by running:
To start the development server, run:
python manage.py runserver
To start the development server and make it accessible over the internet:
python manage.py runserver 0.0.0.0:8000
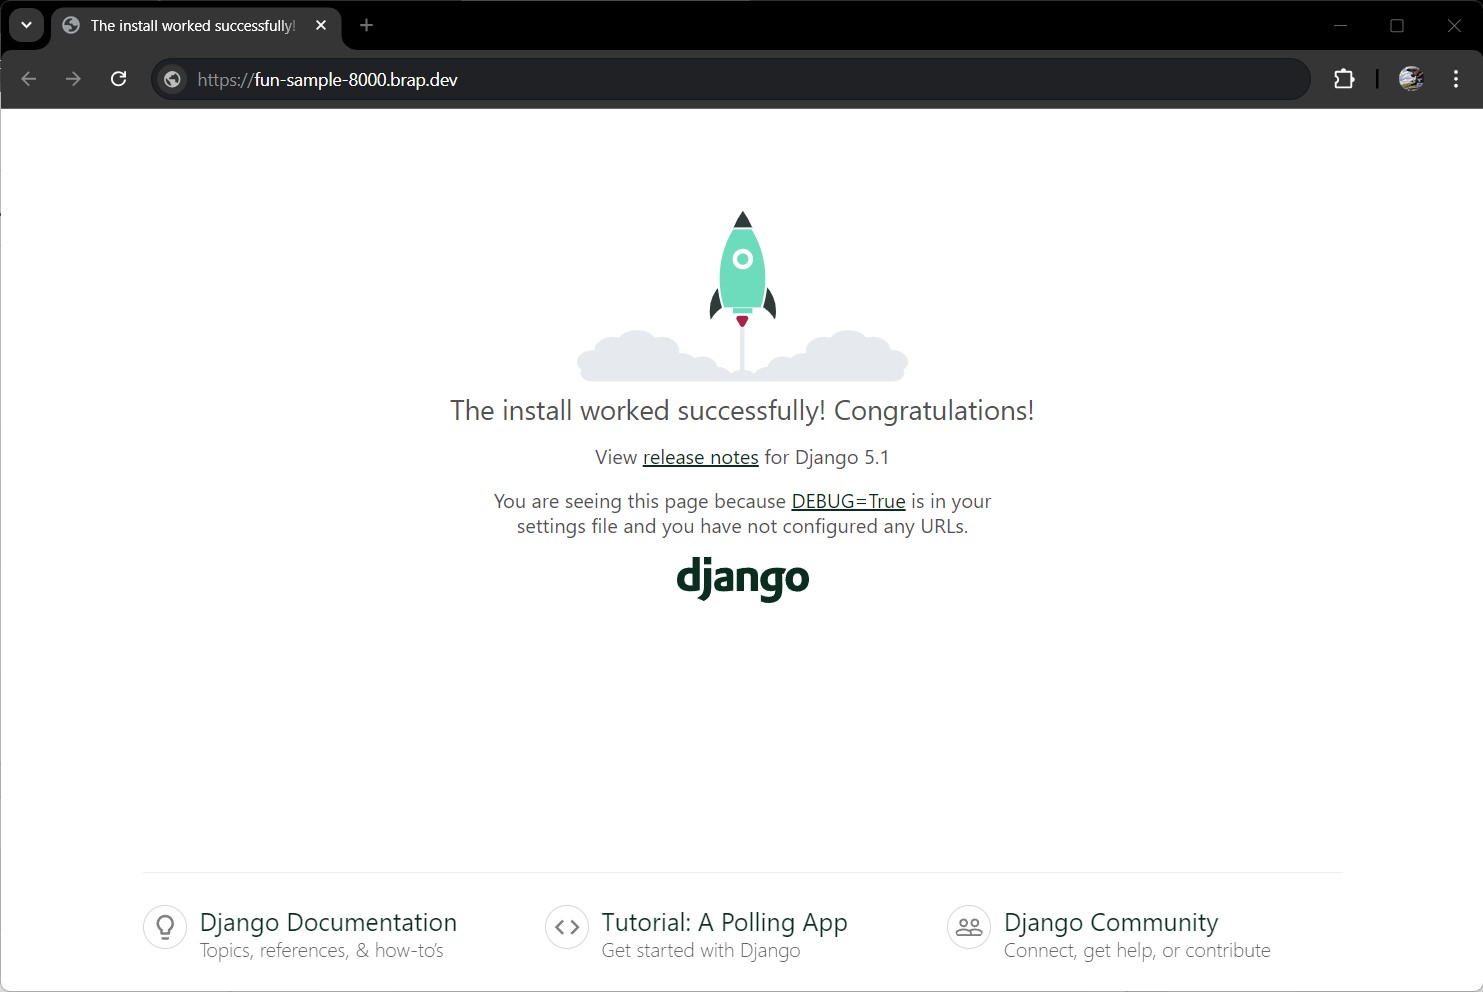
Screenshot: Django running in the web
References
Keywords
- django
- python
- high-level
- web
- framework
- mvc
- backend
- frontend
- fullstack
